
Interactive Guitar
Basically my aim for this project was to have a sensory inputs stuck on a guitar, that could be interacted with to alter audio effects on the guitars signal.
Using a piezo sensor, light dependent resistor and a joystick going into my Arduino Uno. The piezo is used to set the tap delay time for the delay unit. The LDR is controlling the pitch of the phaser. The joystick is controlling the panning of the guitar signal, quadraphonically.

Using the HC-05 Bluetooth module I was able to eliminate the need for a usb cable to run my Arduino Uno. Also a 9V Battery going to a 2.1mm power plug to power the board.
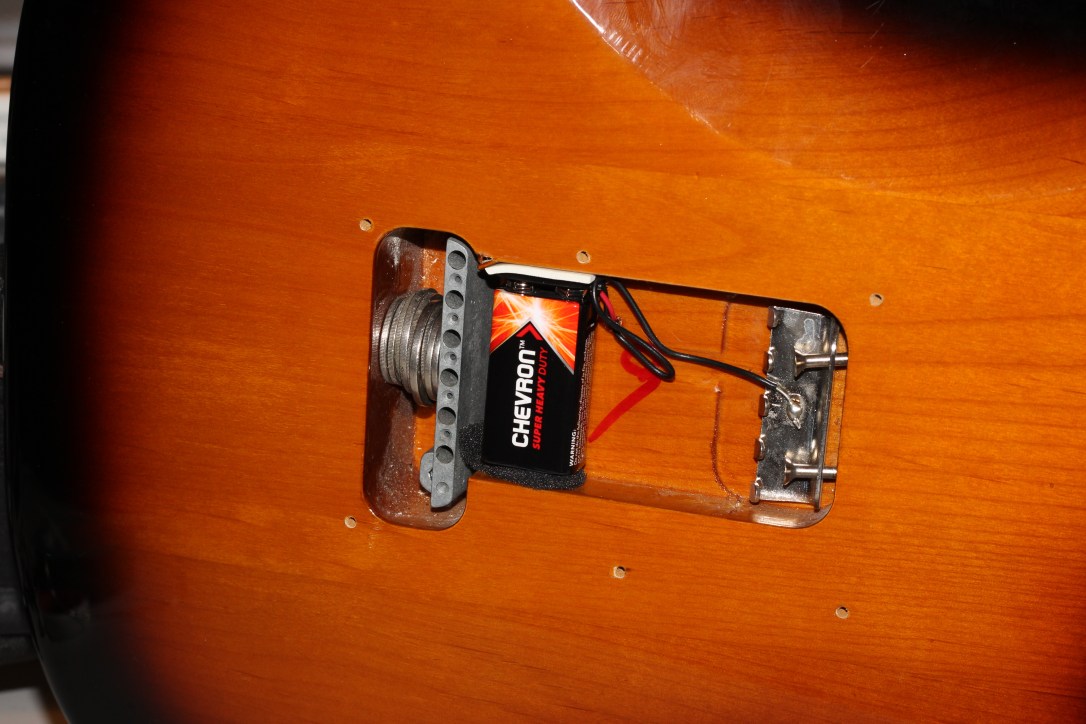
I made use of the Squier’s pick guard which I removed to drill holes through to run cables and mount components onto. Lots of double sided tape helped me out. Hot glue I also used just to secure jumper lead connections into the Arduino.
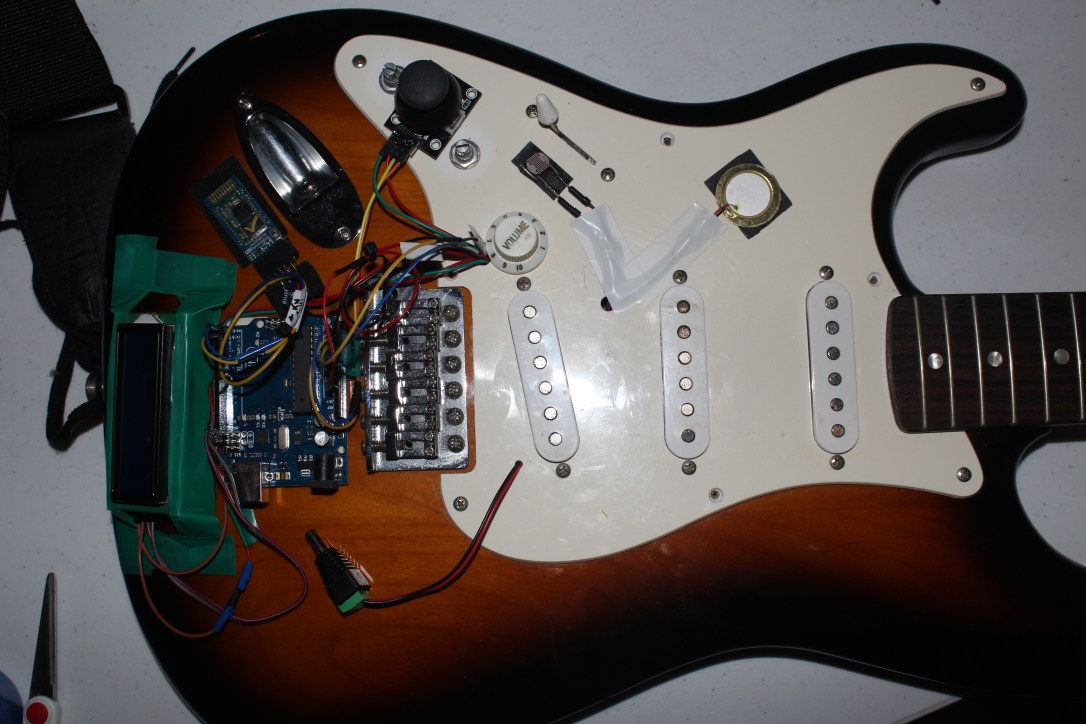
The LCD screen is just there to display the name of the instrument and what it is, as an added touch!
MAX MSP part
For the Max portion of this project it was nothing too extravagant. Basically the guitar’s signal gets brought into Max via an ‘ezadc’ , it is then split going off to three different effect sub patchers. A delay unit, Distortion/Fuzz and a Phaser. These then run through their own individual fader then all to the a master fader which is then routed to a quadpanner sub patcher then out to a four channel dac.
There is the section for reading the Arduino’s information, which i then send off each components number values, ready to be recieved
There is a large section dedicated to the OSC communication, allowing faders and toggles wishing the OSC app to control parameters inside of Max. I used the TouchOSC Editor on my mac to create a layout that would best suit my design. This also allowed me to give labels to parameters which improved the general UI.
Video example

Excellent work! Really insightful and clear description of your process.
LikeLike